01
Point-to-point distance
Mark any two points to read their direct pixel distance. After calibration, the same line converts instantly to metric or imperial units, so one image measure session can cover a wall, a component, or a spacing check.
START WITH YOUR IMAGE
Use the original file for the cleanest point placement. Processing starts only after you add an image and happens locally on your device.
JPG, PNG, WebP, GIF, SVG, and browser-supported image formatsPRIVATE · PRECISE · BROWSER-BASED
Add a photo, blueprint, screenshot, map, or scientific image. Image Measure Pro turns visible geometry into distances, angles, areas, perimeters, circles, and exact pixel coordinates—without sending the file away.
Free to use
No account
Original pixel coordinates
Local image processing
ONE IMAGE · EVERY ESSENTIAL MEASURE
The strongest image measurement tools share one principle: establish geometry once, then keep every result editable on the same image. Image Measure Pro combines the most useful workflows in one focused surface.
Mark any two points to read their direct pixel distance. After calibration, the same line converts instantly to metric or imperial units, so one image measure session can cover a wall, a component, or a spacing check.
Place three points with the vertex in the middle. Image Measure Pro calculates the included angle in degrees, making it useful for roof pitch, joints, diagrams, posture studies, and technical inspection.
Trace a closed polygon around a room, plot, specimen, or material region. The image measure result includes both enclosed area and total perimeter, in pixels or calibrated square units.
Choose two opposite corners for a fast rectangular measurement. It is the efficient option for windows, screens, labels, product faces, and any axis-aligned region where a full polygon would add needless work.
Mark three points on a round edge. The tool fits the circle through them and reports diameter, circumference, and area, even when the center is not obvious in the source image.
Rename individual measurements, adjust point positions, copy values, download structured CSV data, save a local project, or export an annotated PNG at the image's original dimensions.
FROM PIXELS TO PRACTICAL NUMBERS
You can stay in pixel mode for digital work or set one real-world reference for a scaled image measure. Nothing else in the workflow changes.
Choose, drop, or paste a photo, plan, diagram, map, screenshot, or scientific image. A larger original gives you more room to place measurement points accurately.
Mark a ruler, scale bar, doorway, printed dimension, or other known length in the same plane as the subject. Enter its real value and select the unit.
Select distance, angle, rectangle, polygon, circle, or point. Add as many measurements as needed and drag any endpoint until the overlay matches the image precisely.
Name important results, then copy the values, export CSV, save the entire project locally, or download an annotated PNG for a report, quote, lesson, or handoff.
An image measure tool is most trustworthy when it is honest about what a single picture can reveal. Pixels can describe geometry perfectly inside the file. Real-world units require one known reference and a photograph whose perspective supports proportional measurement.
In pixel mode, Image Measure Pro reads coordinates from the original image rather than the size currently shown on screen. Zooming the workspace or resizing the browser changes only your view. The endpoints still resolve to the same source pixels, which is essential for UI reviews, screenshot inspection, digital artwork, print preparation, and scientific images with an embedded scale bar.
To convert pixels into centimeters, millimeters, meters, inches, feet, or another unit, start with Set scale. Draw the reference line across something whose length you know, enter that length, and apply the scale. Image Measure Pro stores the physical length represented by each source pixel. Every existing and future distance, rectangle, polygon, and circle result updates from that one ratio.
The reference and the subject should sit on the same flat plane. A ruler beside a product works well. A dimension line on a blueprint works well. A scale bar on a microscope image works well. A coin held much closer to the camera than a building does not. Depth changes apparent size, so two objects at different distances from the lens cannot share one reliable image measure scale.
Camera position matters too. Photograph a wall straight on and its horizontal and vertical proportions remain useful. Photograph the same wall from the side and perspective compresses one direction. Wide-angle lenses can bend straight edges near the frame. For a better result, keep the camera square to the surface, keep the subject near the center, avoid an ultra-wide lens, and use the longest trustworthy reference available.
Different geometry calls for different tools. Distance answers the length between two points. Angle uses three points and needs no scale. Rectangle is fast for a bounded box. Polygon follows an irregular outline and returns area plus perimeter. Circle uses three edge points so it can recover a diameter even when you cannot see the center. Point records exact pixel coordinates for repeatable digital inspection.
For safety-critical fabrication, structural work, medical decisions, legal surveys, or purchasing where a small error is expensive, verify the image measure result with a physical instrument or a calibrated professional system. This tool is designed for estimation, planning, comparison, documentation, and visual analysis. Its precision is mathematical; its real-world accuracy is only as good as the source image and reference you provide.
RESULTS STAY WITH THE IMAGE
Every result appears as an editable overlay and as a structured entry. That makes Image Measure Pro useful while you work and useful again when you share the outcome.
BUILT FOR REAL-WORLD QUESTIONS
The same ratio-and-geometry engine supports many disciplines. What changes is the reference you trust and the decision you make from the result.
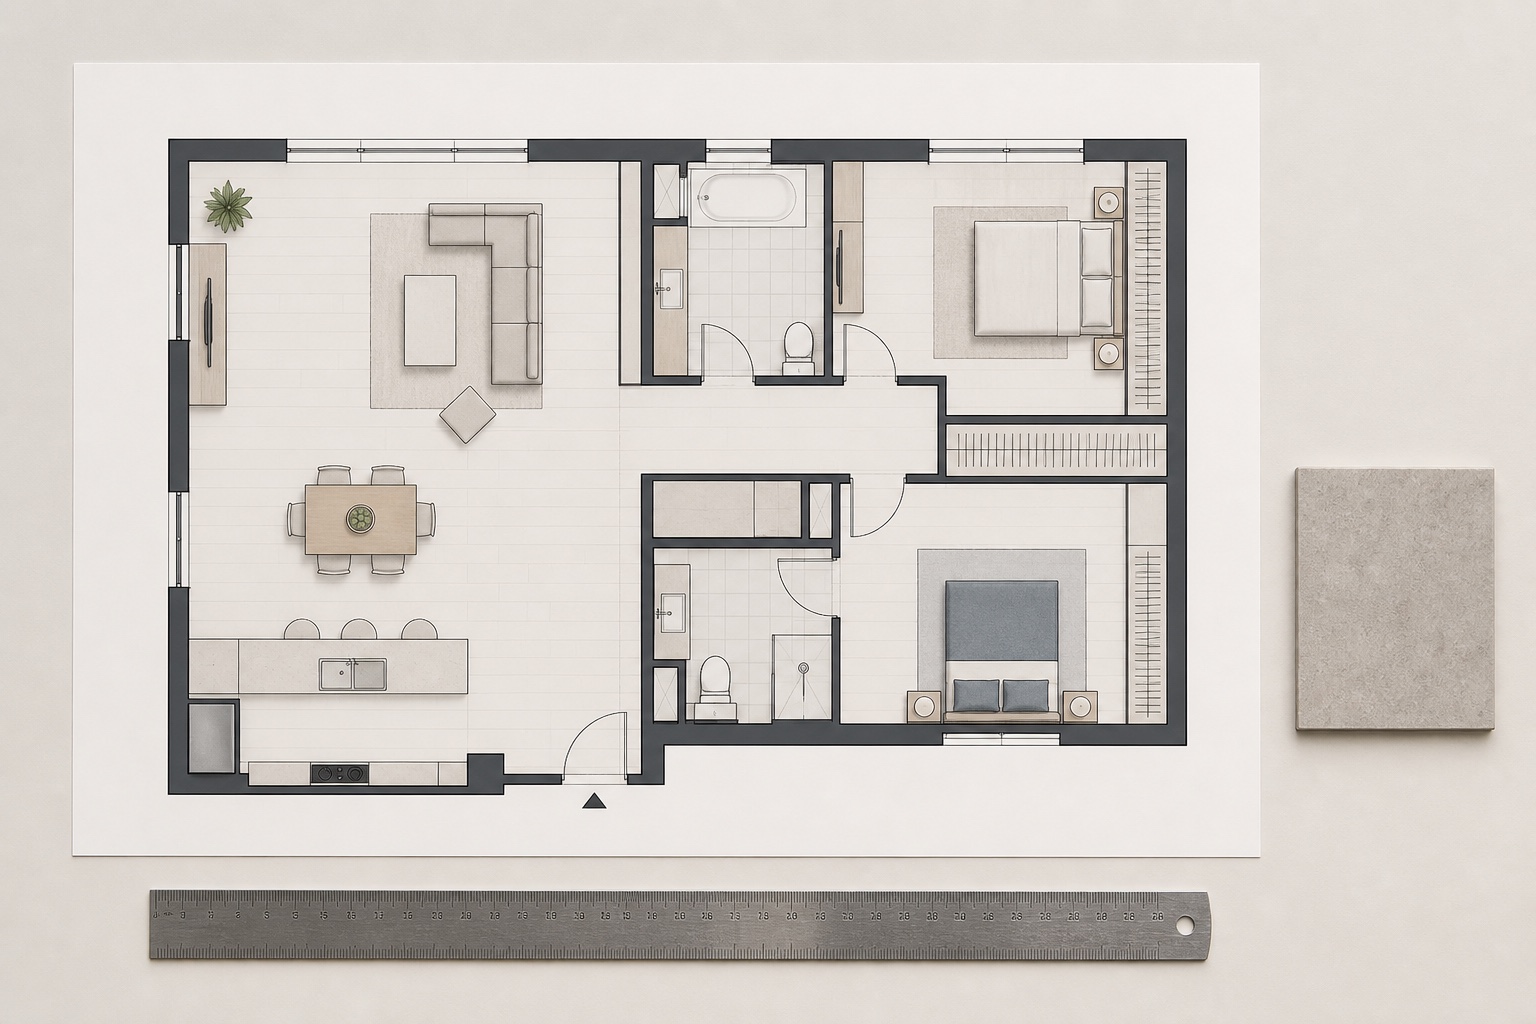
Calibrate from a printed dimension or scale bar, then check walls, openings, room areas, routes, and clearances before moving into a full CAD workflow.
Measure a photographed face, circular opening, label, fastener spacing, or packaging panel when a known reference sits beside the object.
Use an embedded scale bar to measure particle length, hole diameter, feature area, separation, or angle while keeping the source image local.
Stay in pixel mode to inspect spacing, dimensions, alignment, aspect ratio, and exact coordinates in screenshots, exports, and visual references.
Estimate windows, wall sections, furniture footprints, material coverage, and fit from a straight-on photo before confirming with a tape measure.
Set scale from a map legend or known distance, then trace paths, plot boundaries, field areas, and perimeters on a flat, undistorted source.
ACCURACY STARTS BEFORE THE FIRST CLICK
A long decimal is not proof of a correct real-world measurement. Use this checklist before relying on a scaled result.
For the smallest placement error, zoom in and anchor points on long, crisp edges. A longer reference reduces the percentage impact of a one-pixel mistake.
| Camera angle | Shoot square to the measured plane. Oblique views shorten one axis through perspective. |
|---|---|
| Depth alignment | Keep the known reference and target at the same distance from the lens. |
| Reference quality | Prefer a long, verified ruler or dimension line over a small, approximate object. |
| Lens distortion | Avoid ultra-wide capture and measure near the center when straight lines bow at the edges. |
| Point placement | Zoom in, use crisp boundaries, then drag every handle until it sits exactly on the feature. |
PRIVATE BY ARCHITECTURE
Image Measure Pro reads the selected file with browser APIs and renders it in this tab. The image measure engine does not send the file to an application server, create a hidden cloud copy, or require an account before you can work.
Annotated PNG, CSV, and project JSON exports are generated locally. A saved project can include the image and measurement geometry so you can reopen it later on the same or another device without creating a remote workspace.
This local-first model is useful for home photos, job-site records, product drawings, classroom material, research images, and client references. You control the source file and every artifact you choose to download.
READY WHEN YOUR IMAGE IS
No account, no installation, and no upload queue. Add an image, set the scale you trust, and make the measurement directly in this page.
Measure an image nowCOMMON QUESTIONS
The short version: pixels are direct, real units need calibration, and perspective still matters.
Yes, when you include a known reference in the same plane as the object. Set scale from that reference, then measure the target. A single photo cannot correct unknown depth, so objects closer to or farther from the camera may not share the same scale.